In today's fast-evolving software development landscape, automation plays a crucial role in meeting modern delivery demands. One of the most important tools in the DevOps toolkit is Jenkins, an open-source automation server commonly used for Continuous Integration (CI) and Continuous Delivery (CD).
This article explores Jenkins and its role in the development process. But first, we need to understand CI/CD.
What Is CI/CD?
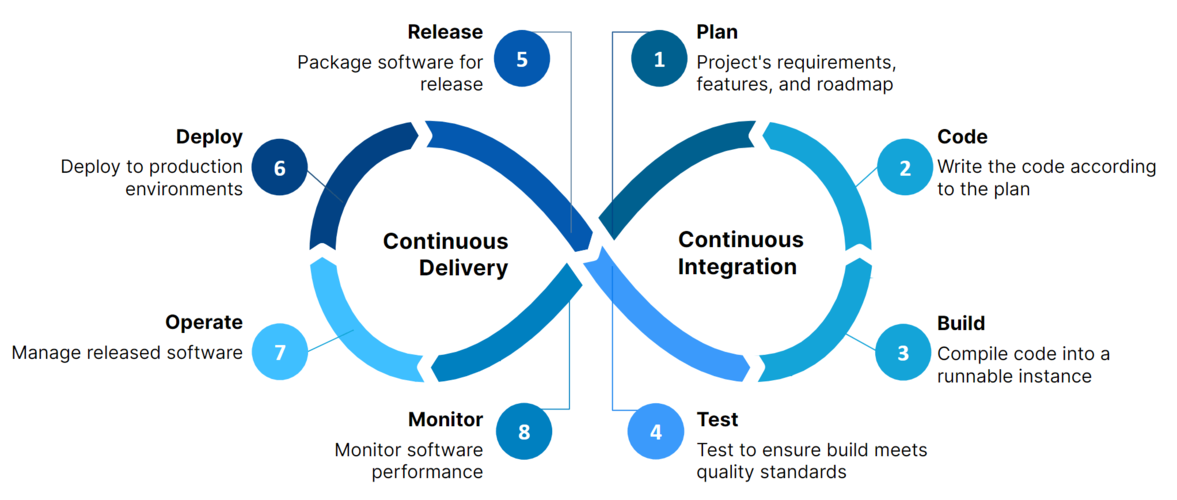
Continuous Integration (CI) is a development practice focused on automating how code changes from multiple developers are merged into a shared repository. Developers frequently push code to platforms like GitHub, and automated tools build, validate, and review those changes. CI helps teams find bugs earlier, simplify integration, improve quality, and ship features faster.
Continuous Delivery (CD) extends CI by ensuring changes are always in a releasable state. It includes integration and regression testing in environments close to production. CD emphasizes reliable release automation so deployments can happen at any time with confidence.
What Is Jenkins?
Jenkins is an open-source automation server designed to streamline CI/CD workflows. It automates key stages such as building, testing, and deploying applications. With its large plugin ecosystem, Jenkins integrates with many tools and platforms, making it highly adaptable in real-world pipelines.

- Advantages of Jenkins
- Jenkins is backed by an active open-source community with regular public collaboration.
- It has a huge plugin ecosystem (1,900+ plugins), making it flexible and extensible.
- It supports cloud-oriented workflows and integrations.
- It supports parallel test execution, helping teams reduce feedback time.
- Jenkins Pipeline
In Jenkins, a pipeline is an ordered sequence of tasks. It is built from stages, where each stage contains steps.
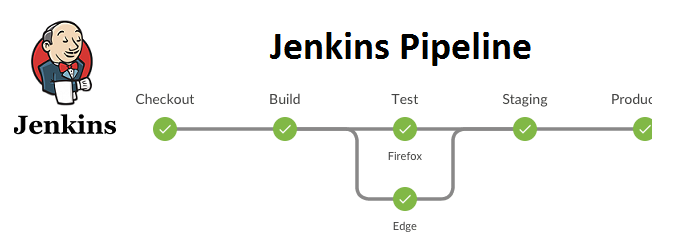
A common example is stages like Build, Test, and Deploy.
Pipelines are usually defined in a Jenkinsfile (pipeline-as-code) and committed with source code for versioning and review. You can also create pipelines through the Jenkins UI, but the underlying syntax and concepts remain the same.
Setup Jenkins and AWS EC2
- Install Jenkins
You can follow Jenkins Docker setup guidance here: https://github.com/jenkinsci/docker
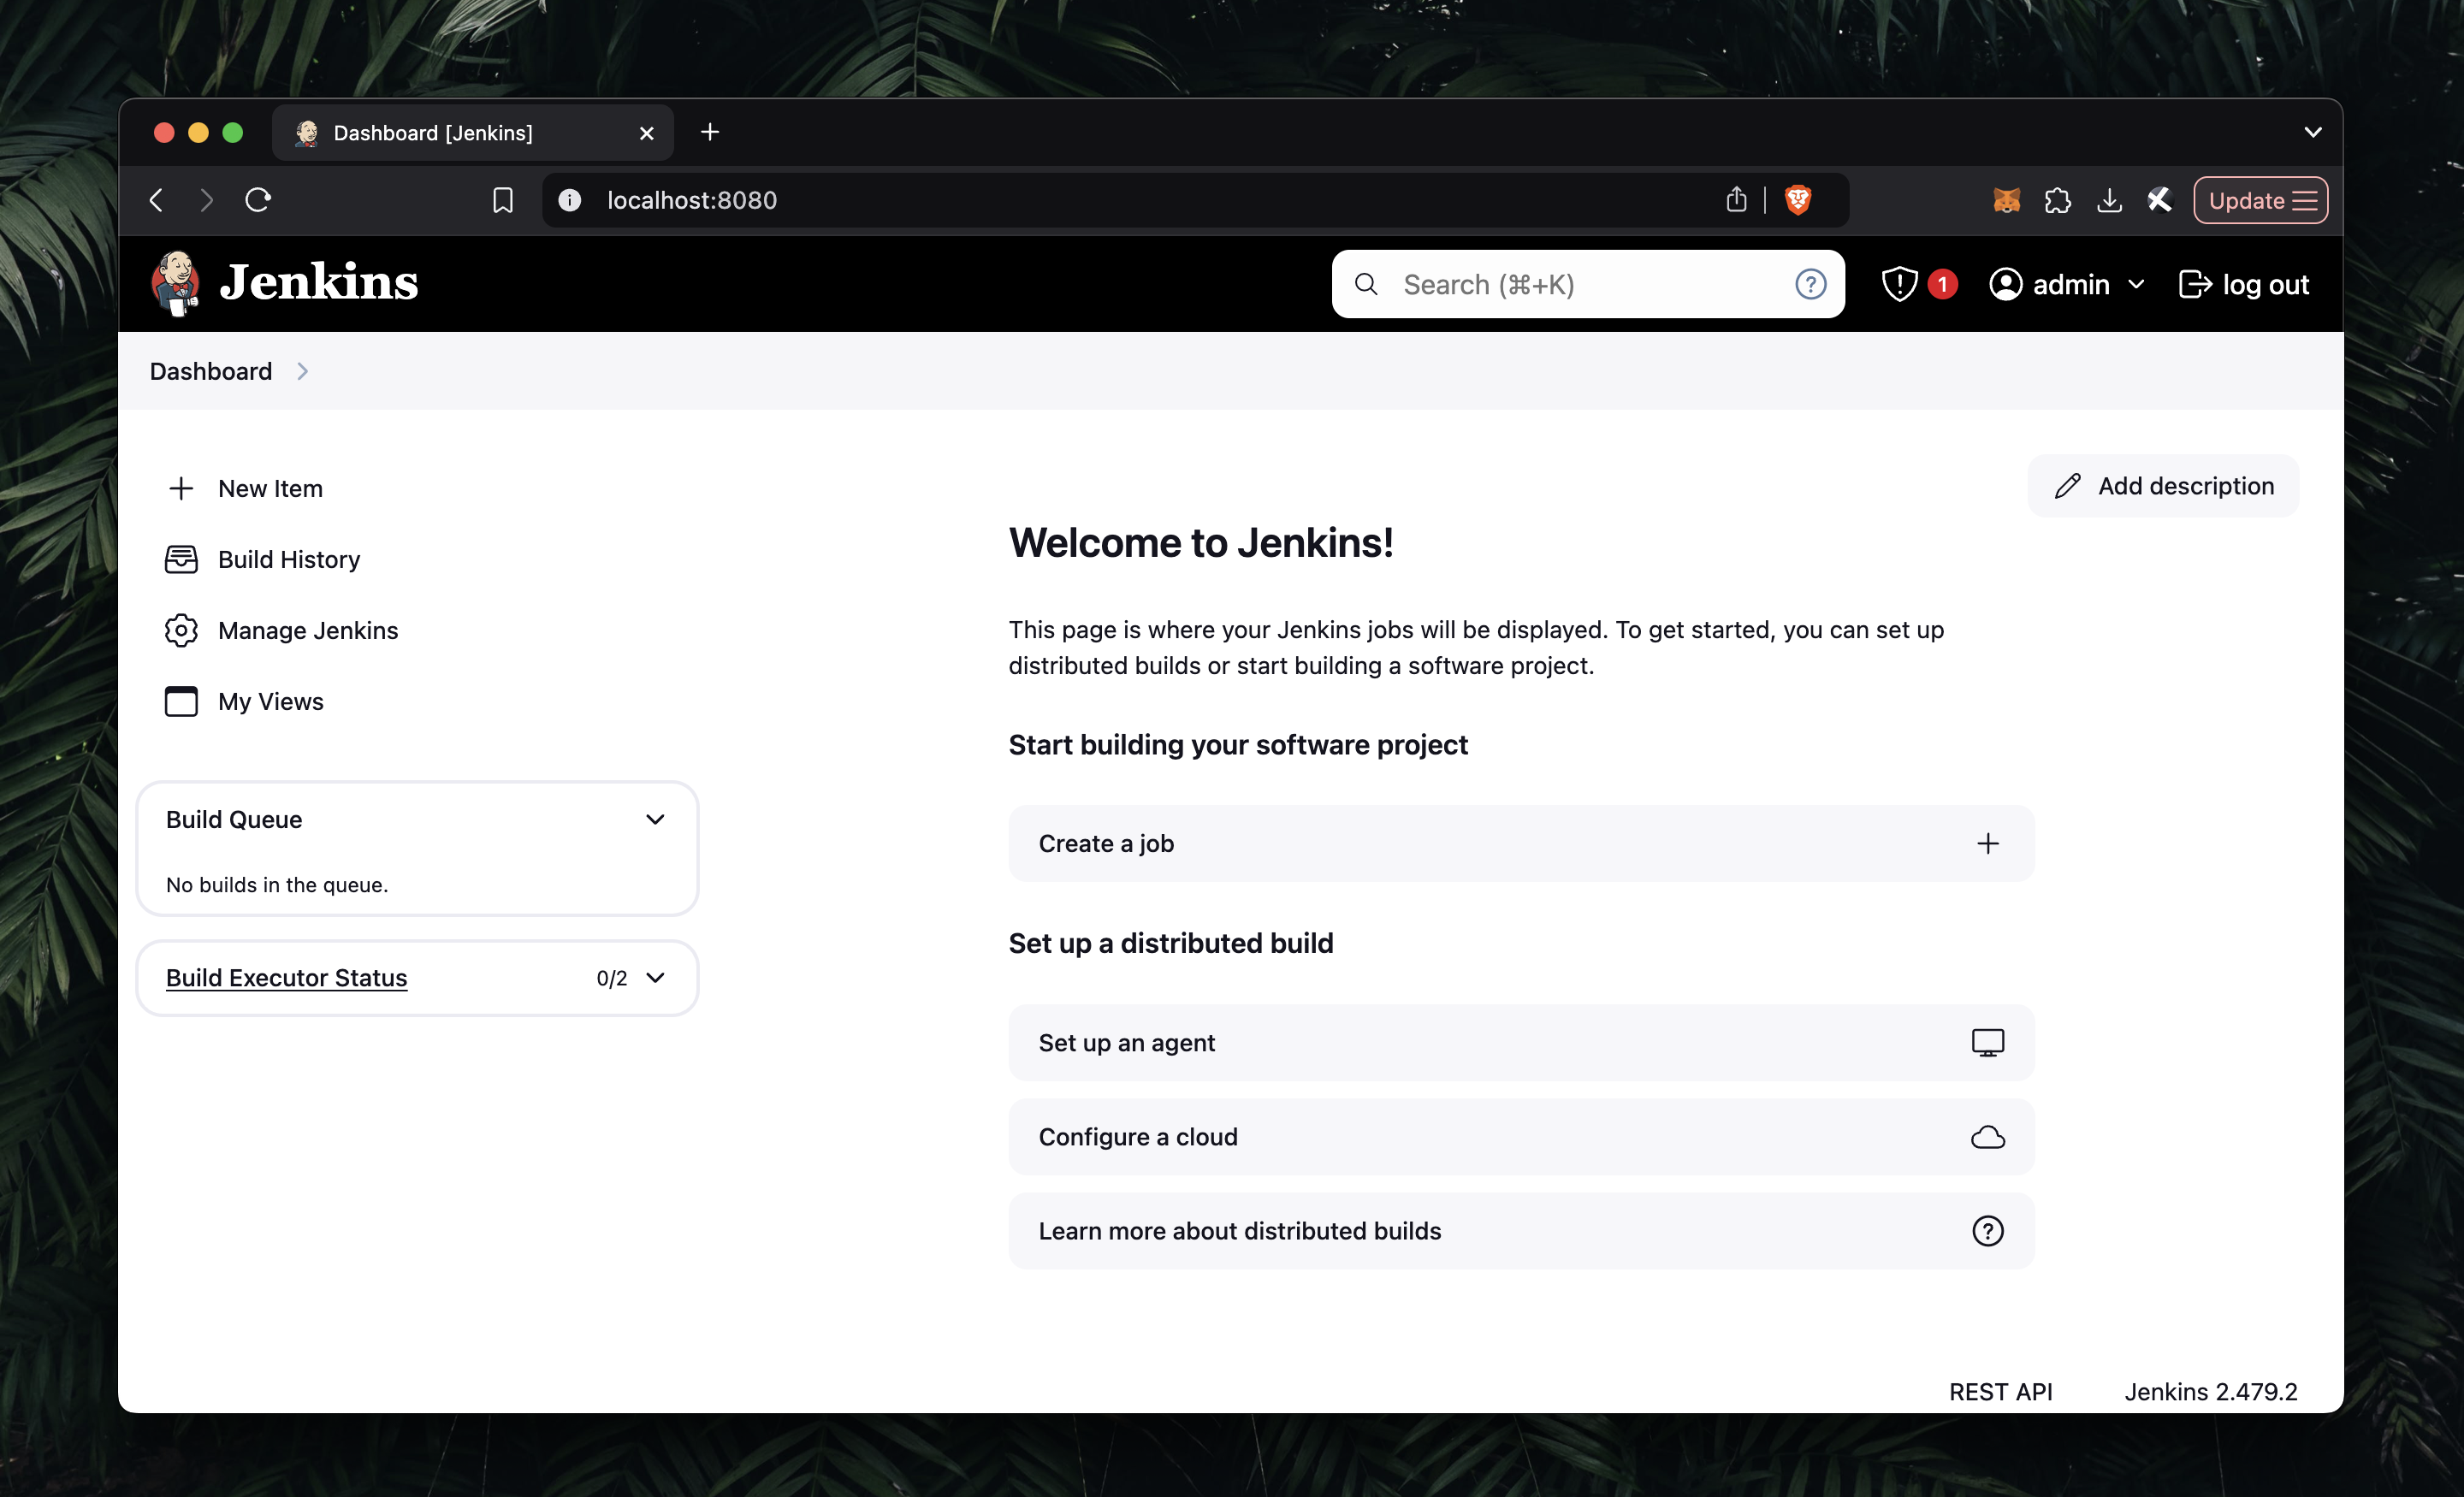
Then open http://localhost:8080 and complete the initial setup.
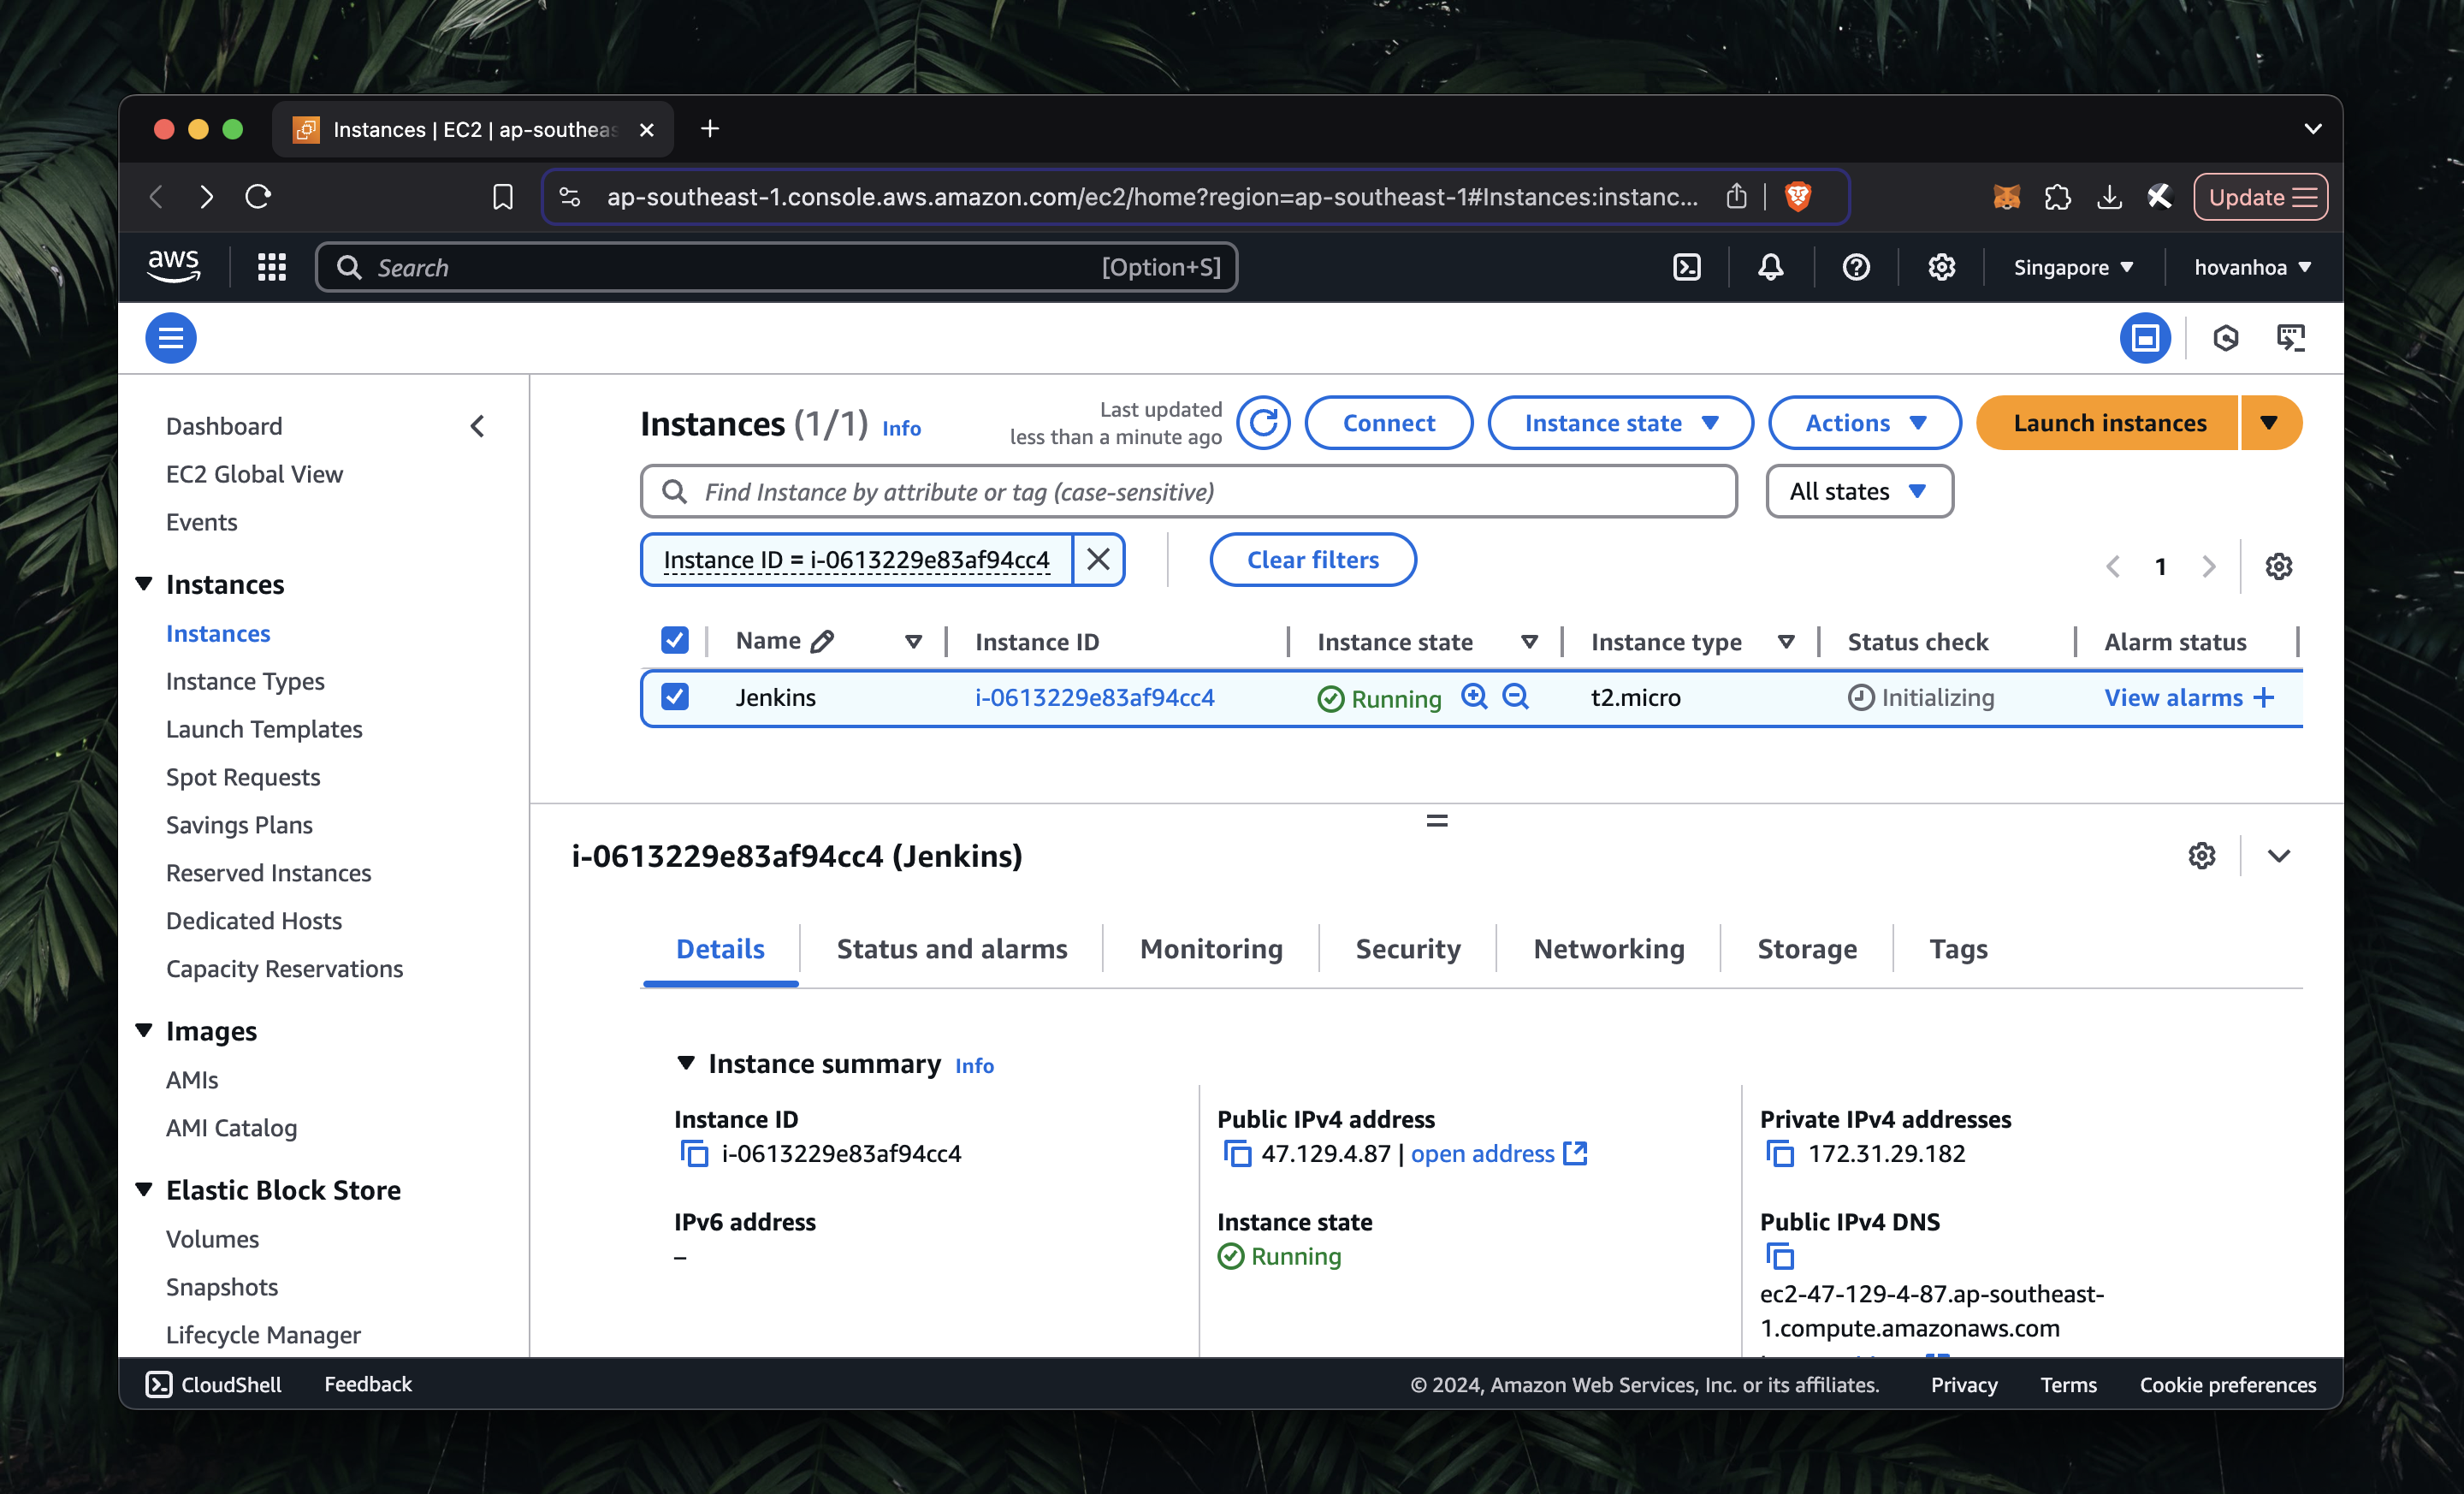
- Set Up EC2 Instance
Create an EC2 instance in AWS as usual (AMI, instance type, security groups, SSH key pair, etc.).
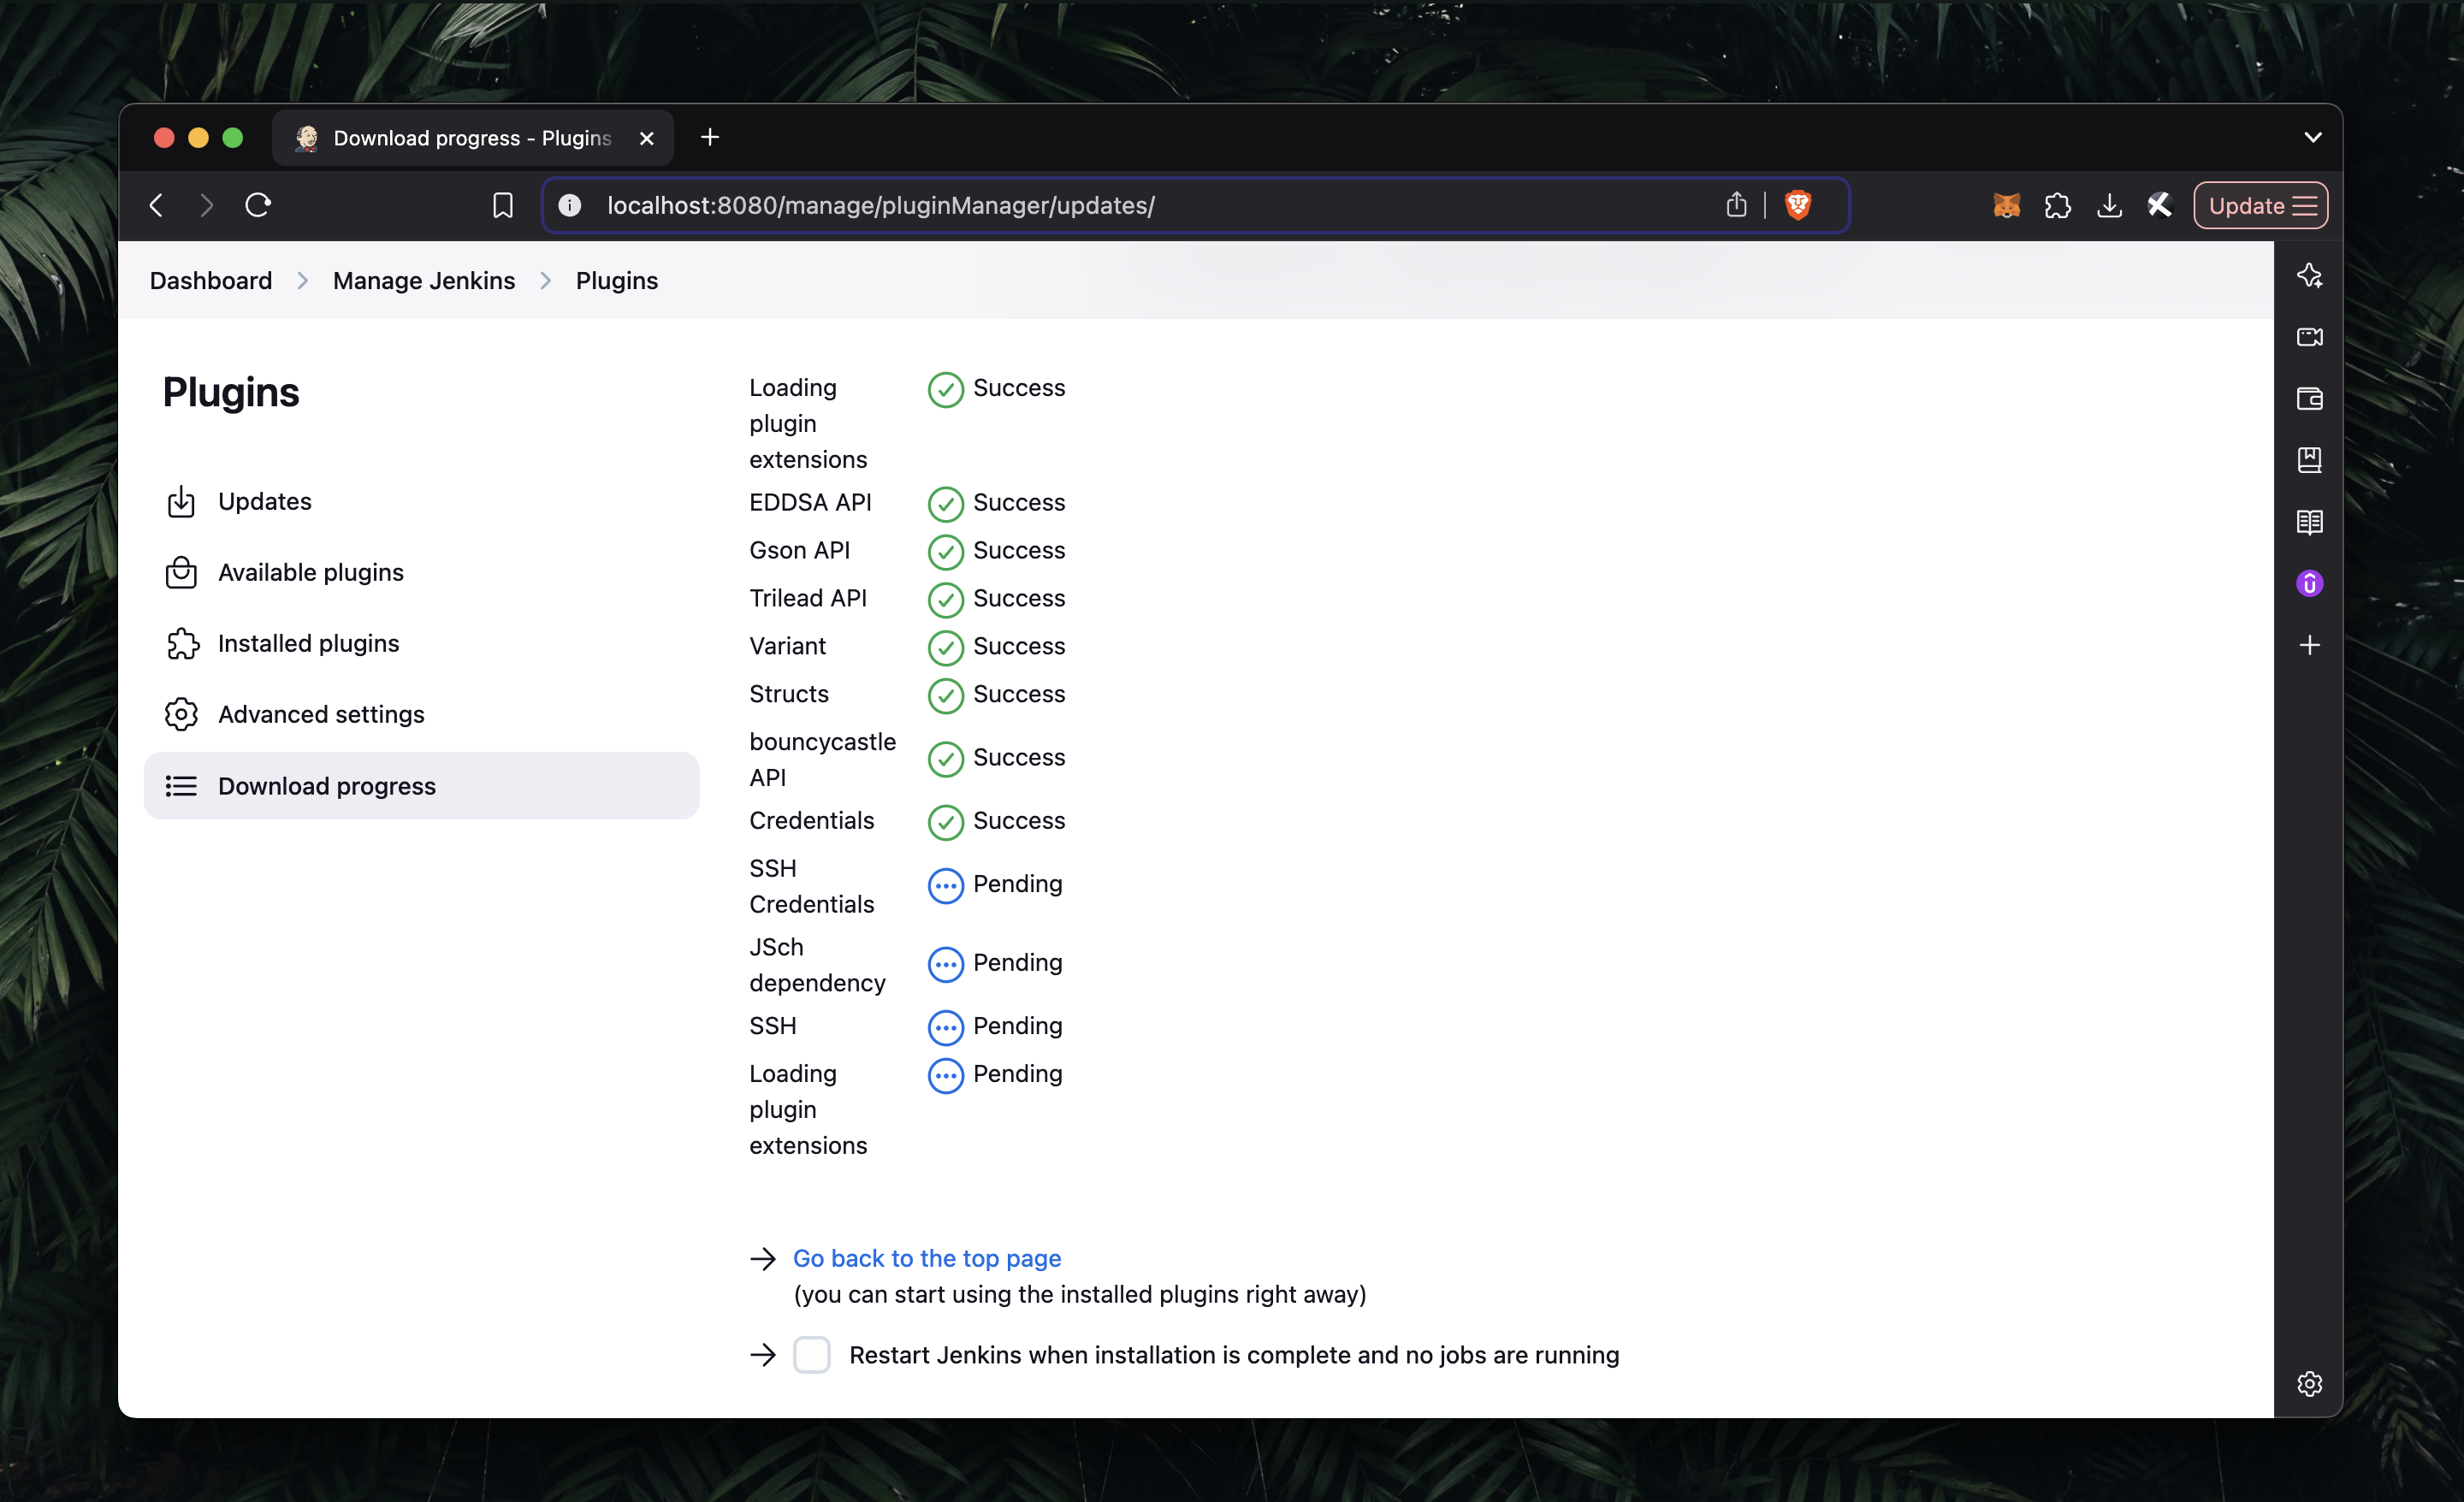
- Install SSH Plugin
In Jenkins, go to Manage Jenkins -> Plugins, search for SSH, and install the required plugin.
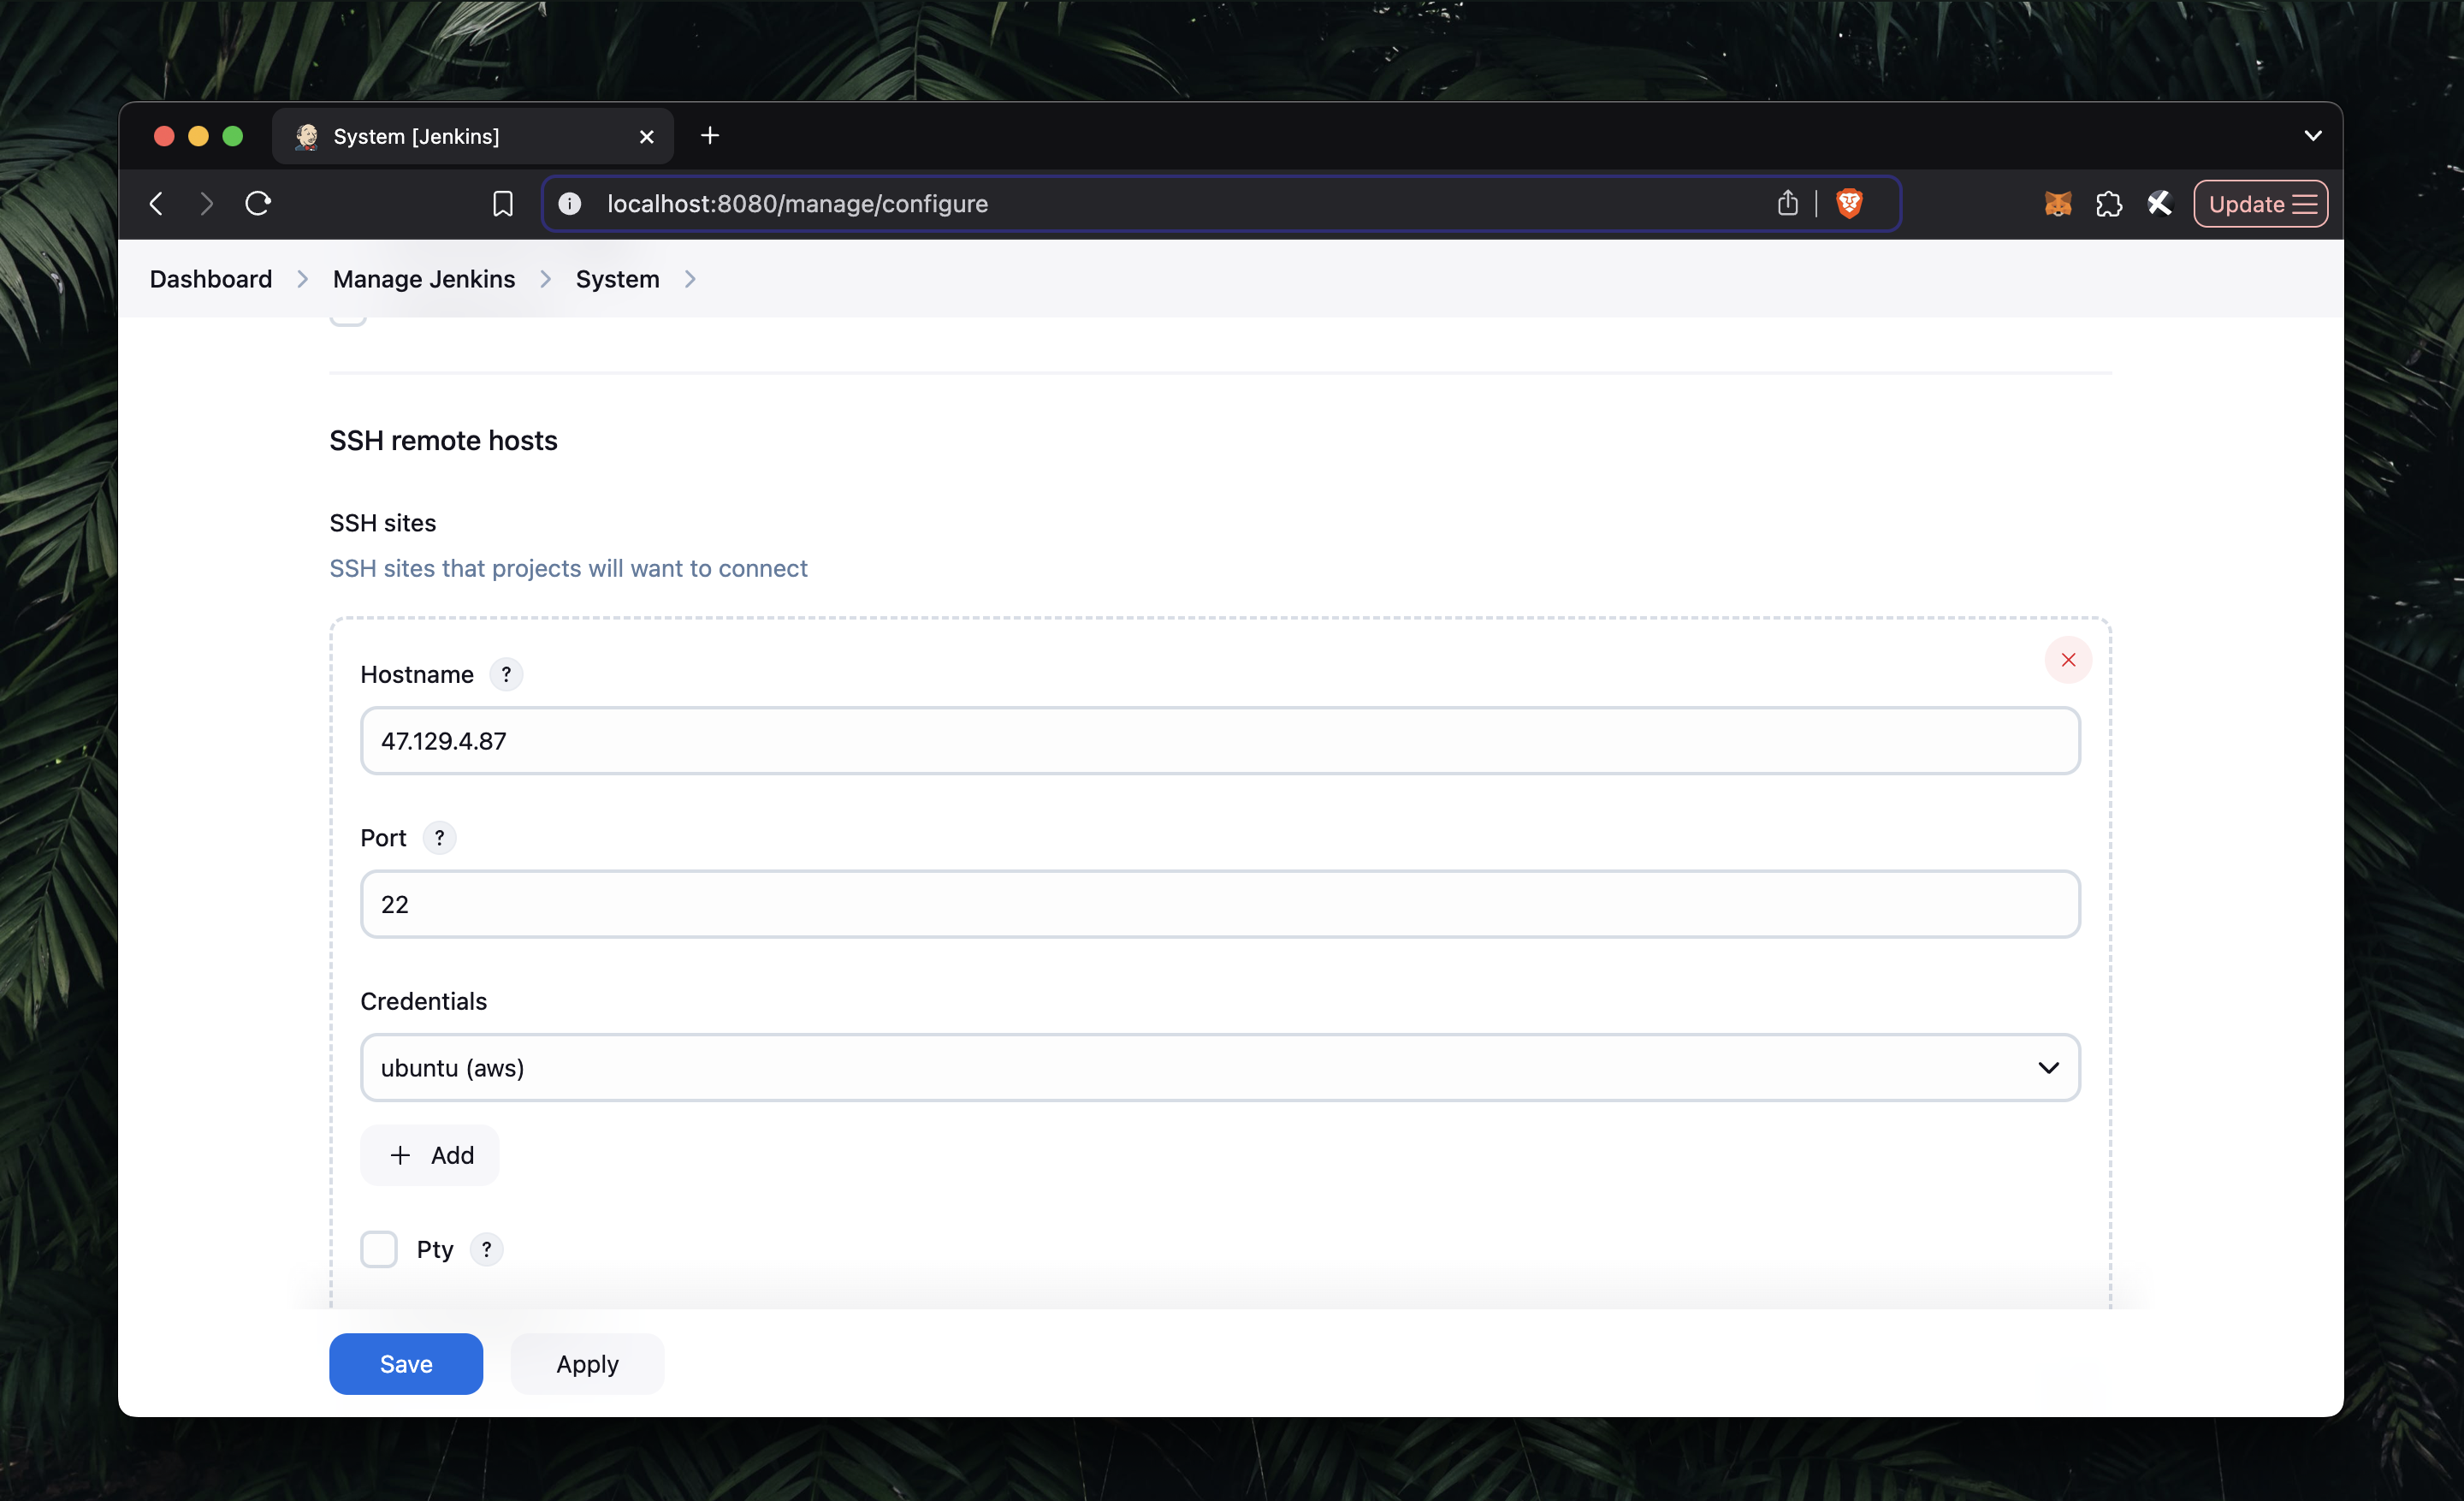
- Set Up SSH Sites
Go to Manage Jenkins -> Configure System, find the SSH remote hosts section, and configure:
- EC2 hostname
- port
22 - credentials/private key
This allows Jenkins to connect securely to EC2.
- Set Up Jenkins Pipeline
For demo purposes, we use the URL shortener project: Building a URL Shortener Service using Golang
Add the step Execute shell script on remote host using SSH, then configure a pre-build script to write environment values.
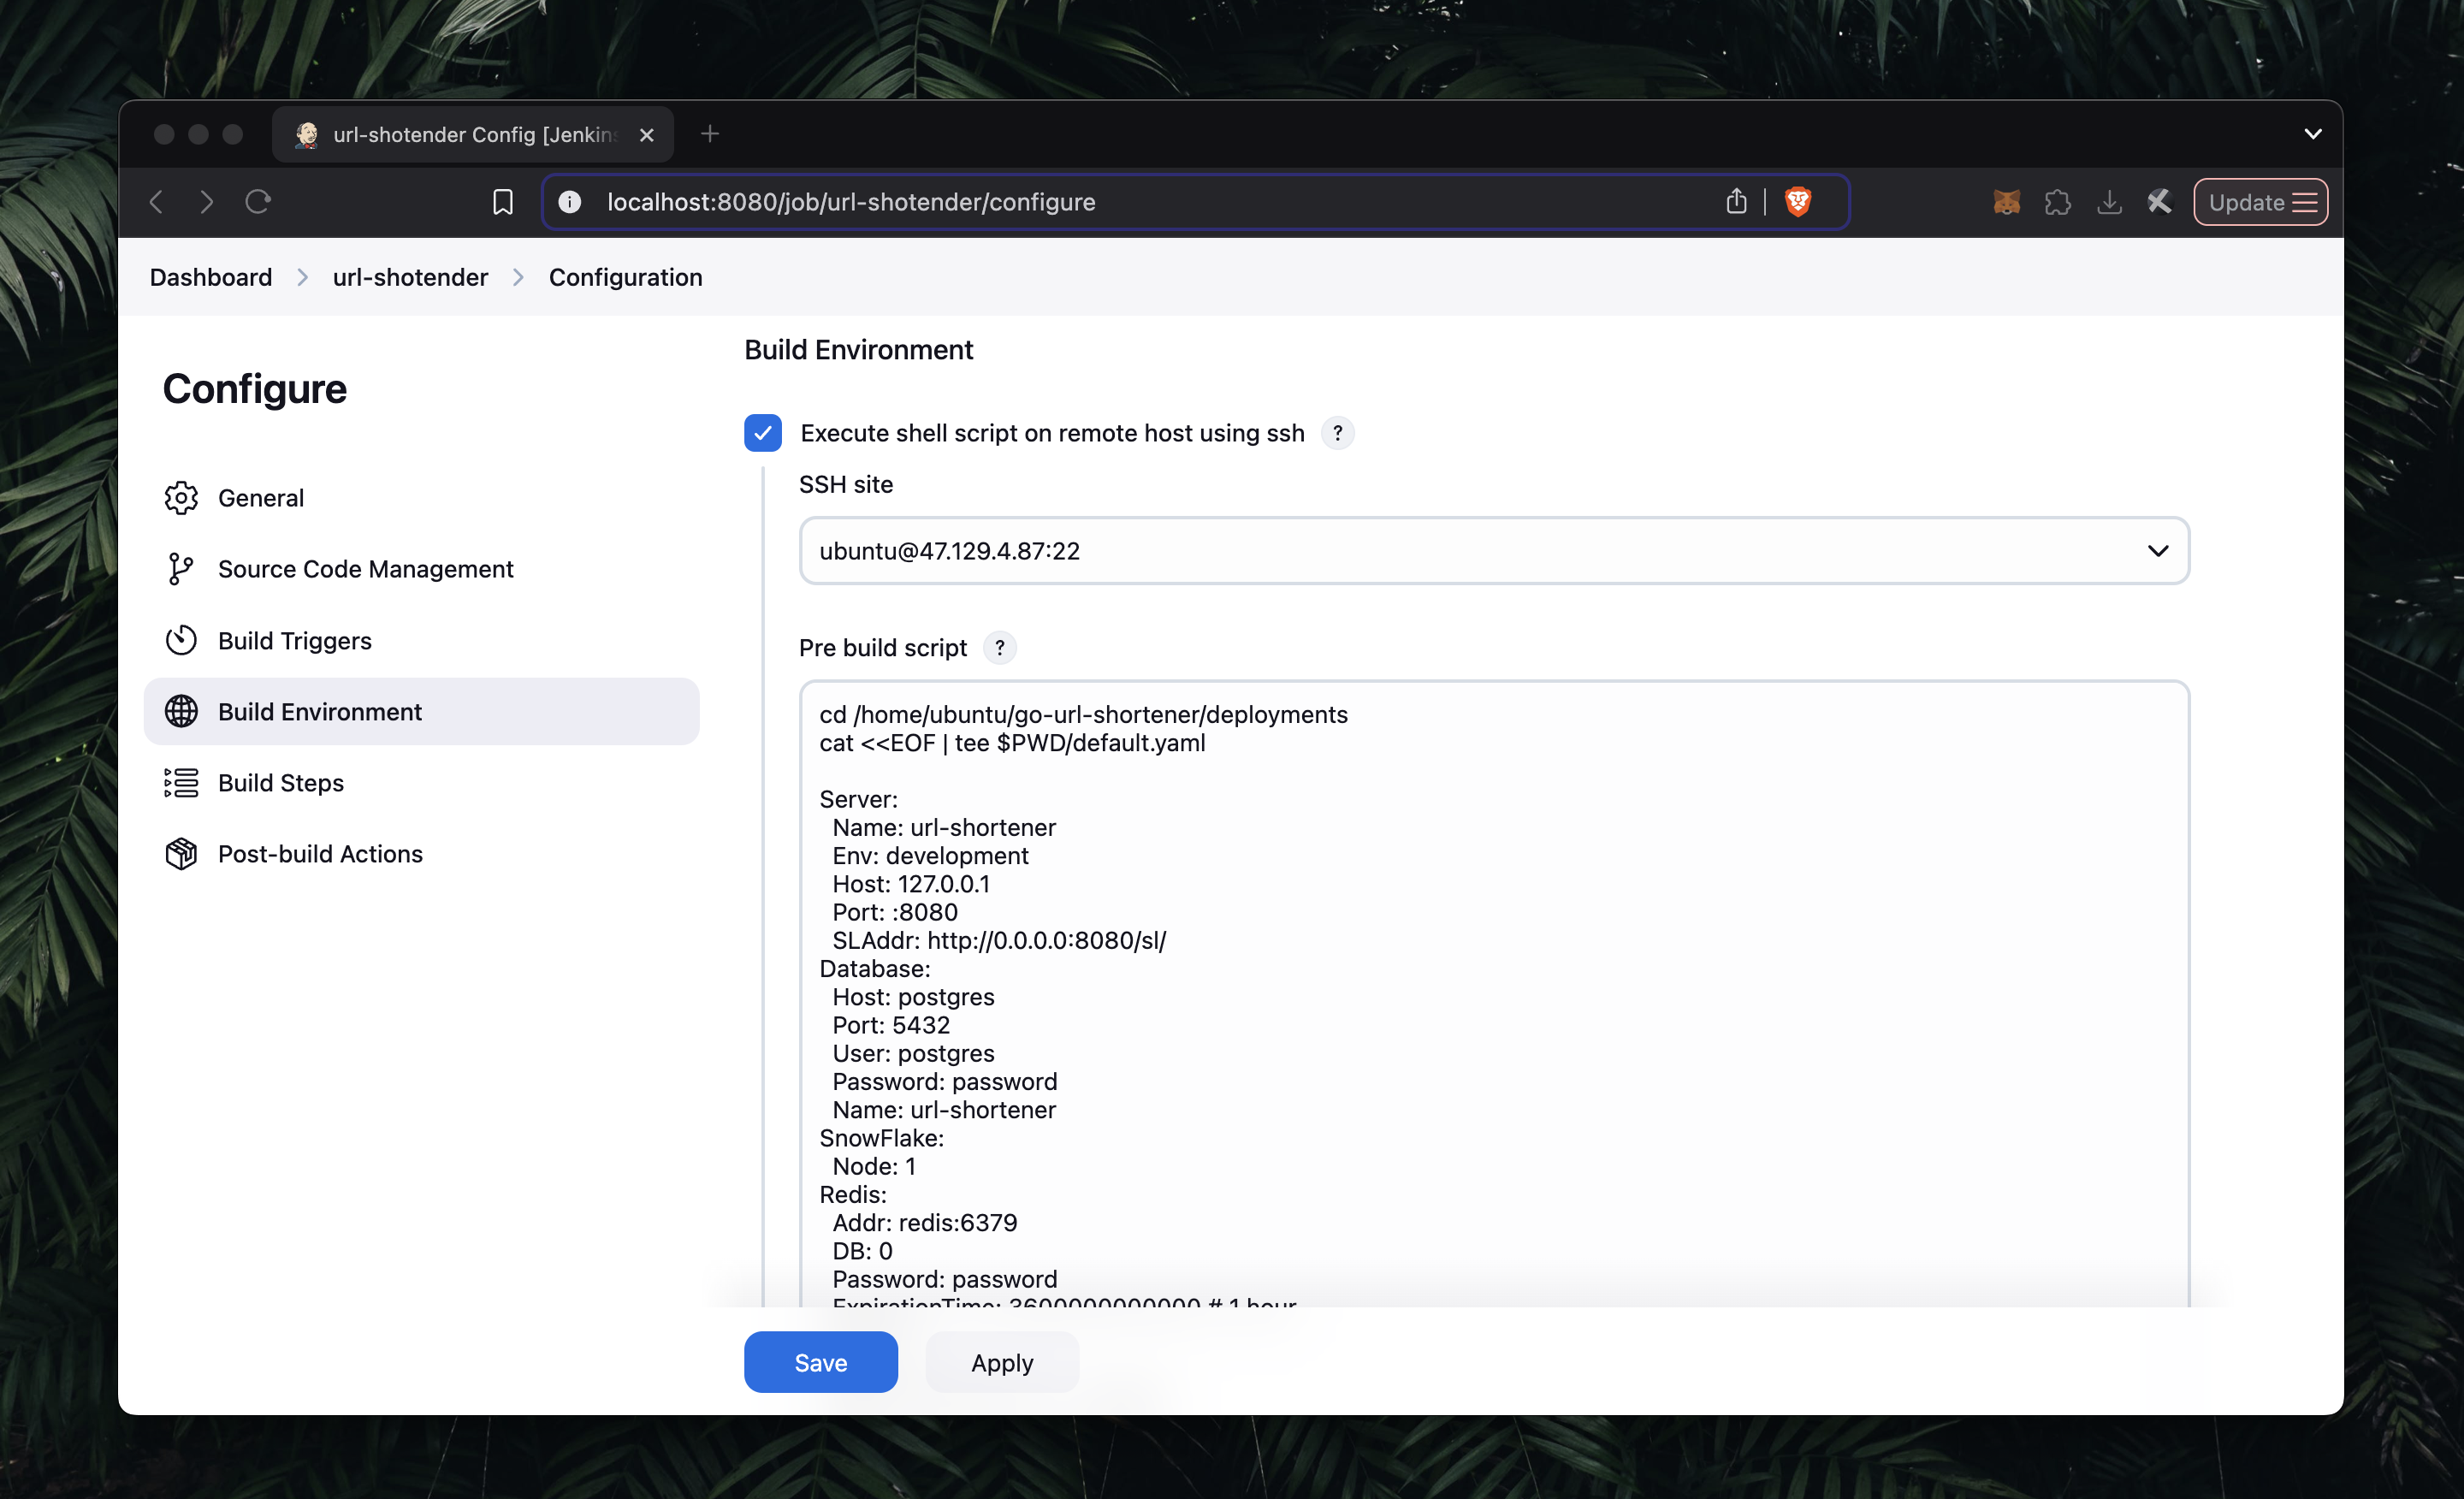
Next, configure build steps to run deployment commands remotely (e.g., move into repository directory and run Docker Compose).

Save and click Build Now.
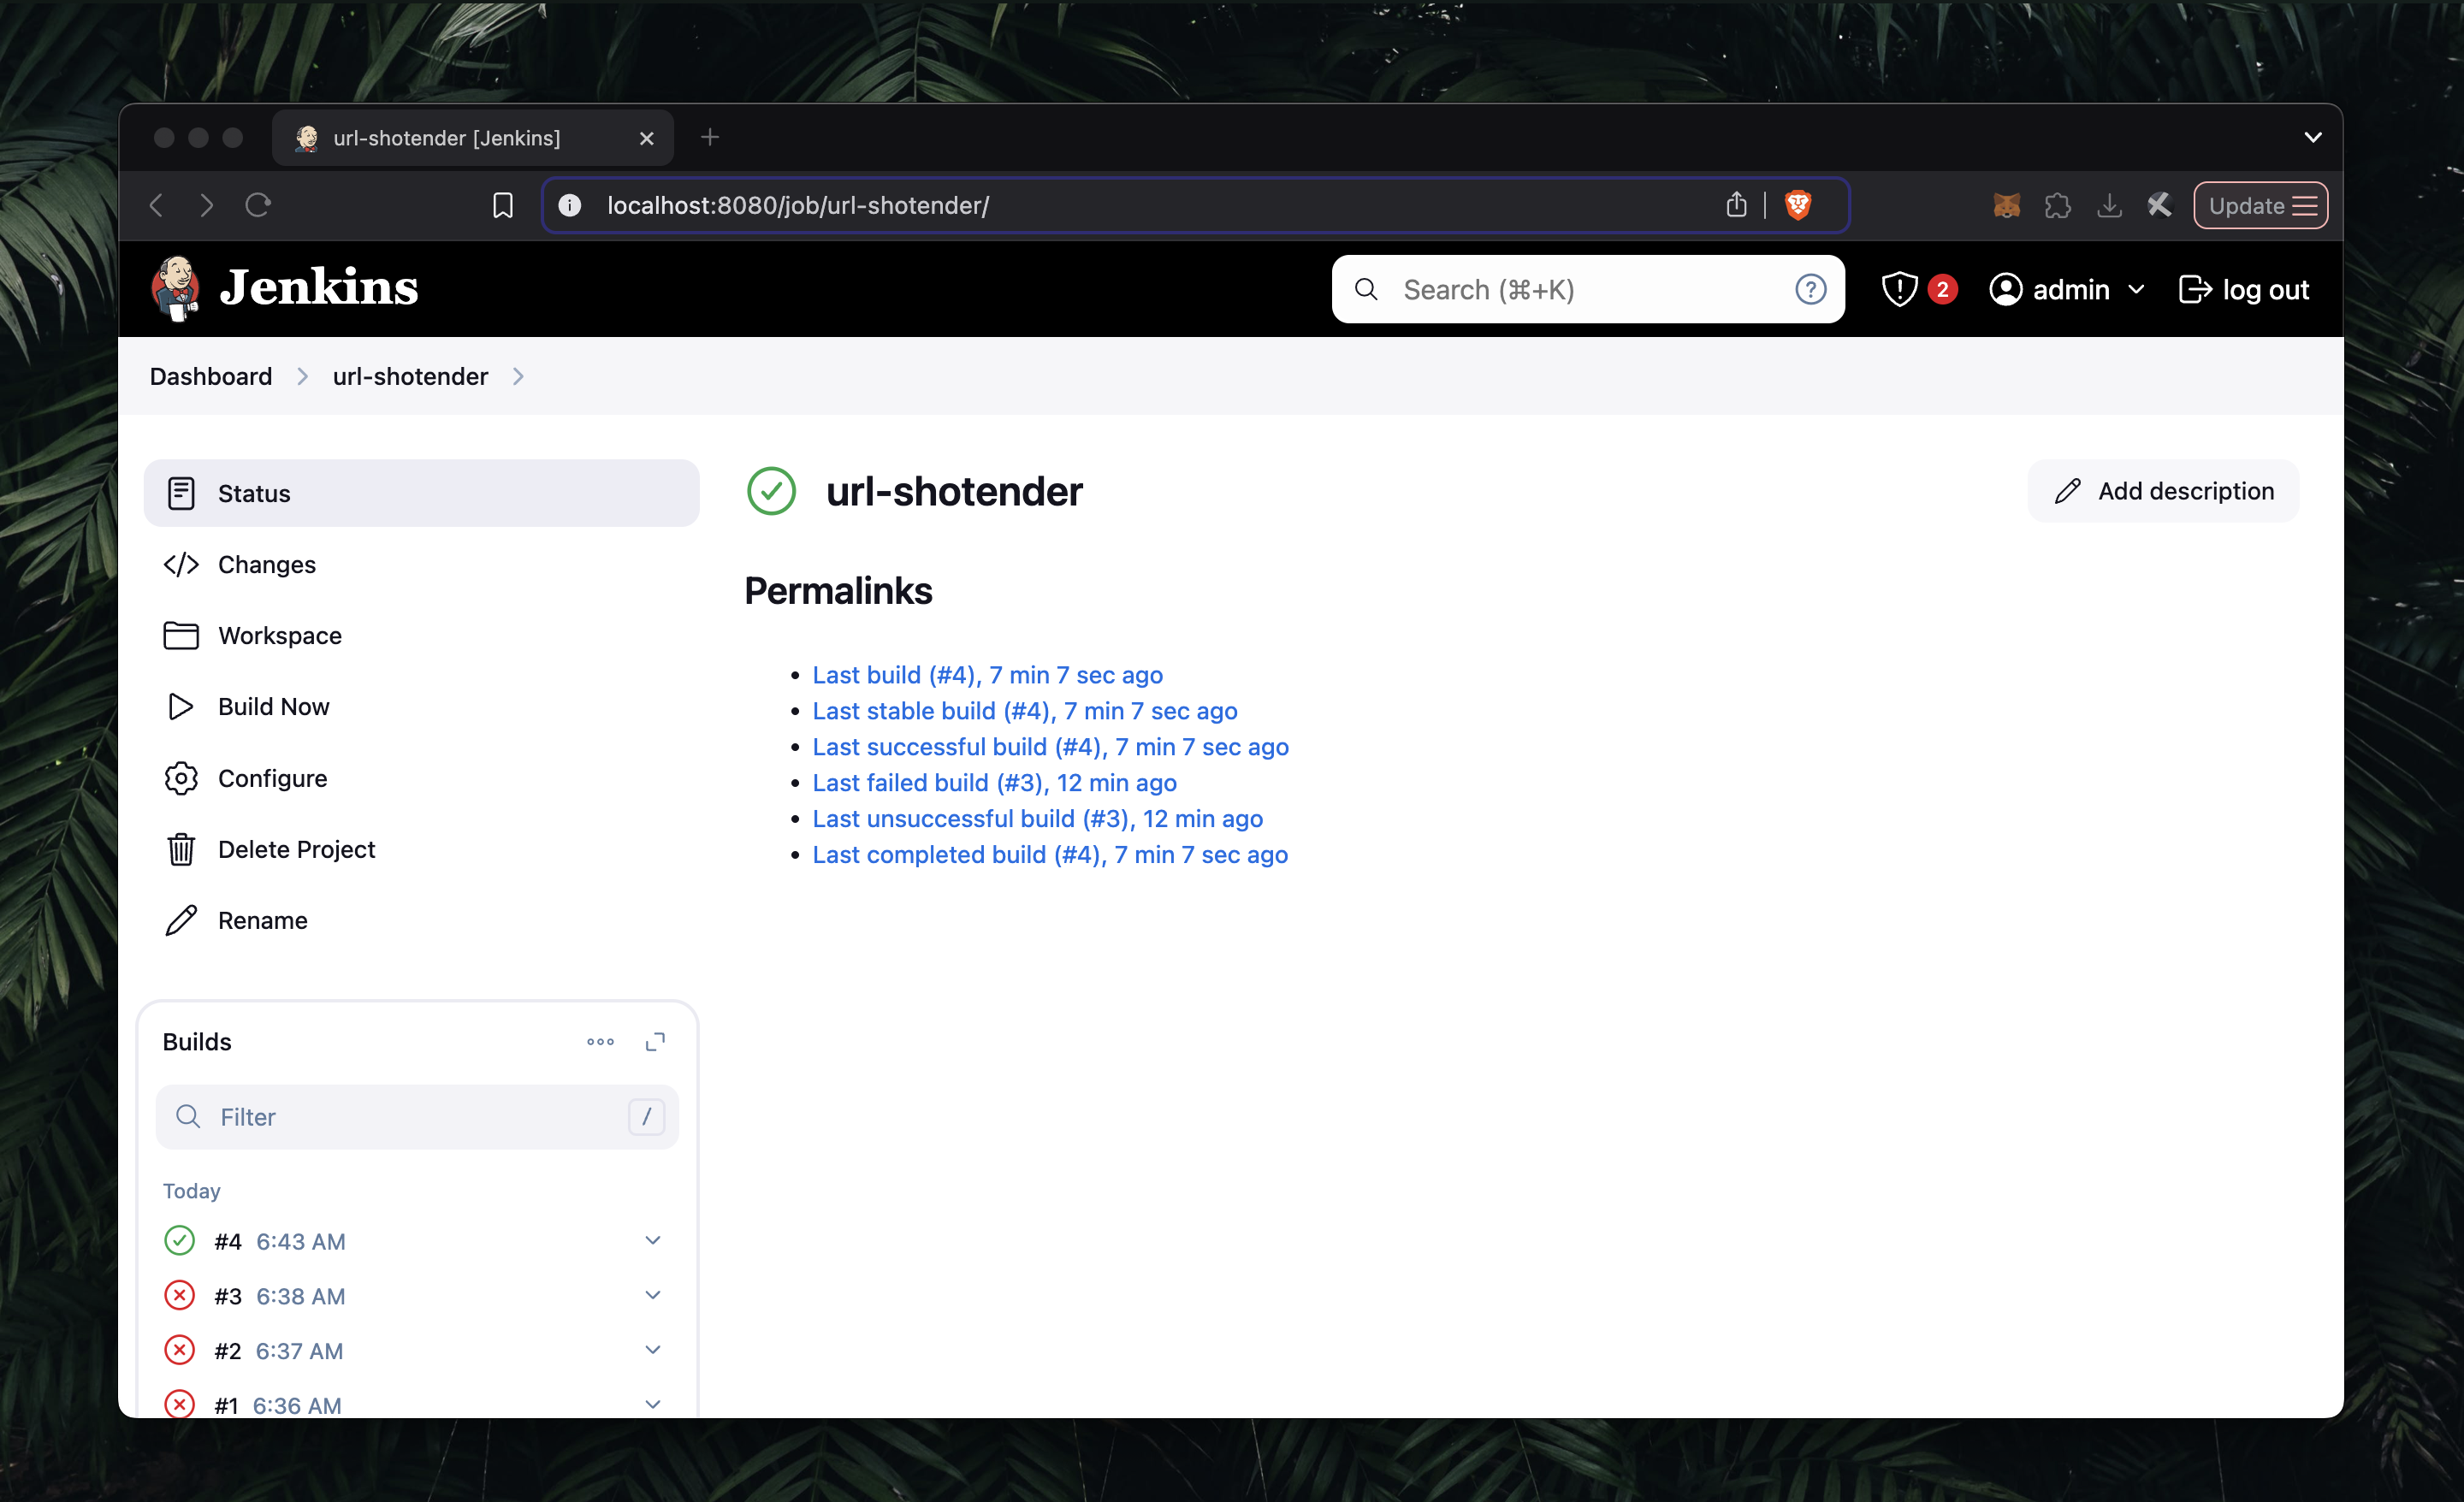
At this point, your Jenkins pipeline is ready. For each new commit, you can trigger Build Now to pull latest code and rebuild/redeploy containers on your instance.
- Set Up Nginx (Optional)
To expose the app via EC2 public IP, configure Nginx as reverse proxy:
server {
    listen 80;
    listen [::]:80;

    server_name 47.129.4.87;

    location / {
       proxy_pass http://127.0.0.1:8080;
       proxy_http_version 1.1;
       proxy_set_header Upgrade $http_upgrade;
       proxy_set_header Connection 'upgrade';
       proxy_set_header Host $host;
       proxy_cache_bypass $http_upgrade;
  }

 location ~ /\. {
    access_log off;
    log_not_found off;
    deny all;
 }
}
After setup, open your EC2 public IP in the browser.

Conclusion
That is all for this article.
I hope this post is useful for anyone getting started with Jenkins pipelines on AWS EC2. If you need help, feel free to reach out.
Let's connect on Twitter and LinkedIn.
Thanks for reading. See you.